
Catching The Bus From My Living Room
This post originally appeared on Medium
In April of 2014 the MTA announced that they had finished rolling out their BusTime platform to every bus in New York City. BusTime is a system for showing the location of MTA buses in real time, developed in-house using the open-source OneBusAway platform and in partnership with OpenPlans.
Unlike proprietary systems (such as NextBus, which is used by San Francisco and many other US cities), the MTA has complete control over the BusTime system and its data. But the trade-off is that there isn’t a suite of flashy apps that already exist to make that data available to bus riders. The MTA has a mobile site and text-messaging service that work reasonably well, but they don’t offer the same convenience as native apps or integration with popular platforms such as Google Maps.
Still, the open nature of the BusTime platform means that anyone can build on it, and the MTA’s hope is that over time the developer community will come up with smart solutions that add value to the platform in interesting ways. This approach was intriguing to me, and since I am both a frequent bus rider and a proponent of open data, it got me thinking: If I could build anything I wanted to make riding the bus more convenient, what would I build? The most obvious choice would be a mobile app, but I have no iOS or Android development experience, so despite the relative lack of user-friendly BusTime apps in the iOS app store (seriously, if you know of a really good one, let me know because I’m still looking) I opted not go to that route to start. Instead, I focused on how I personally use the bus most often and what could make that easier.
My Commute
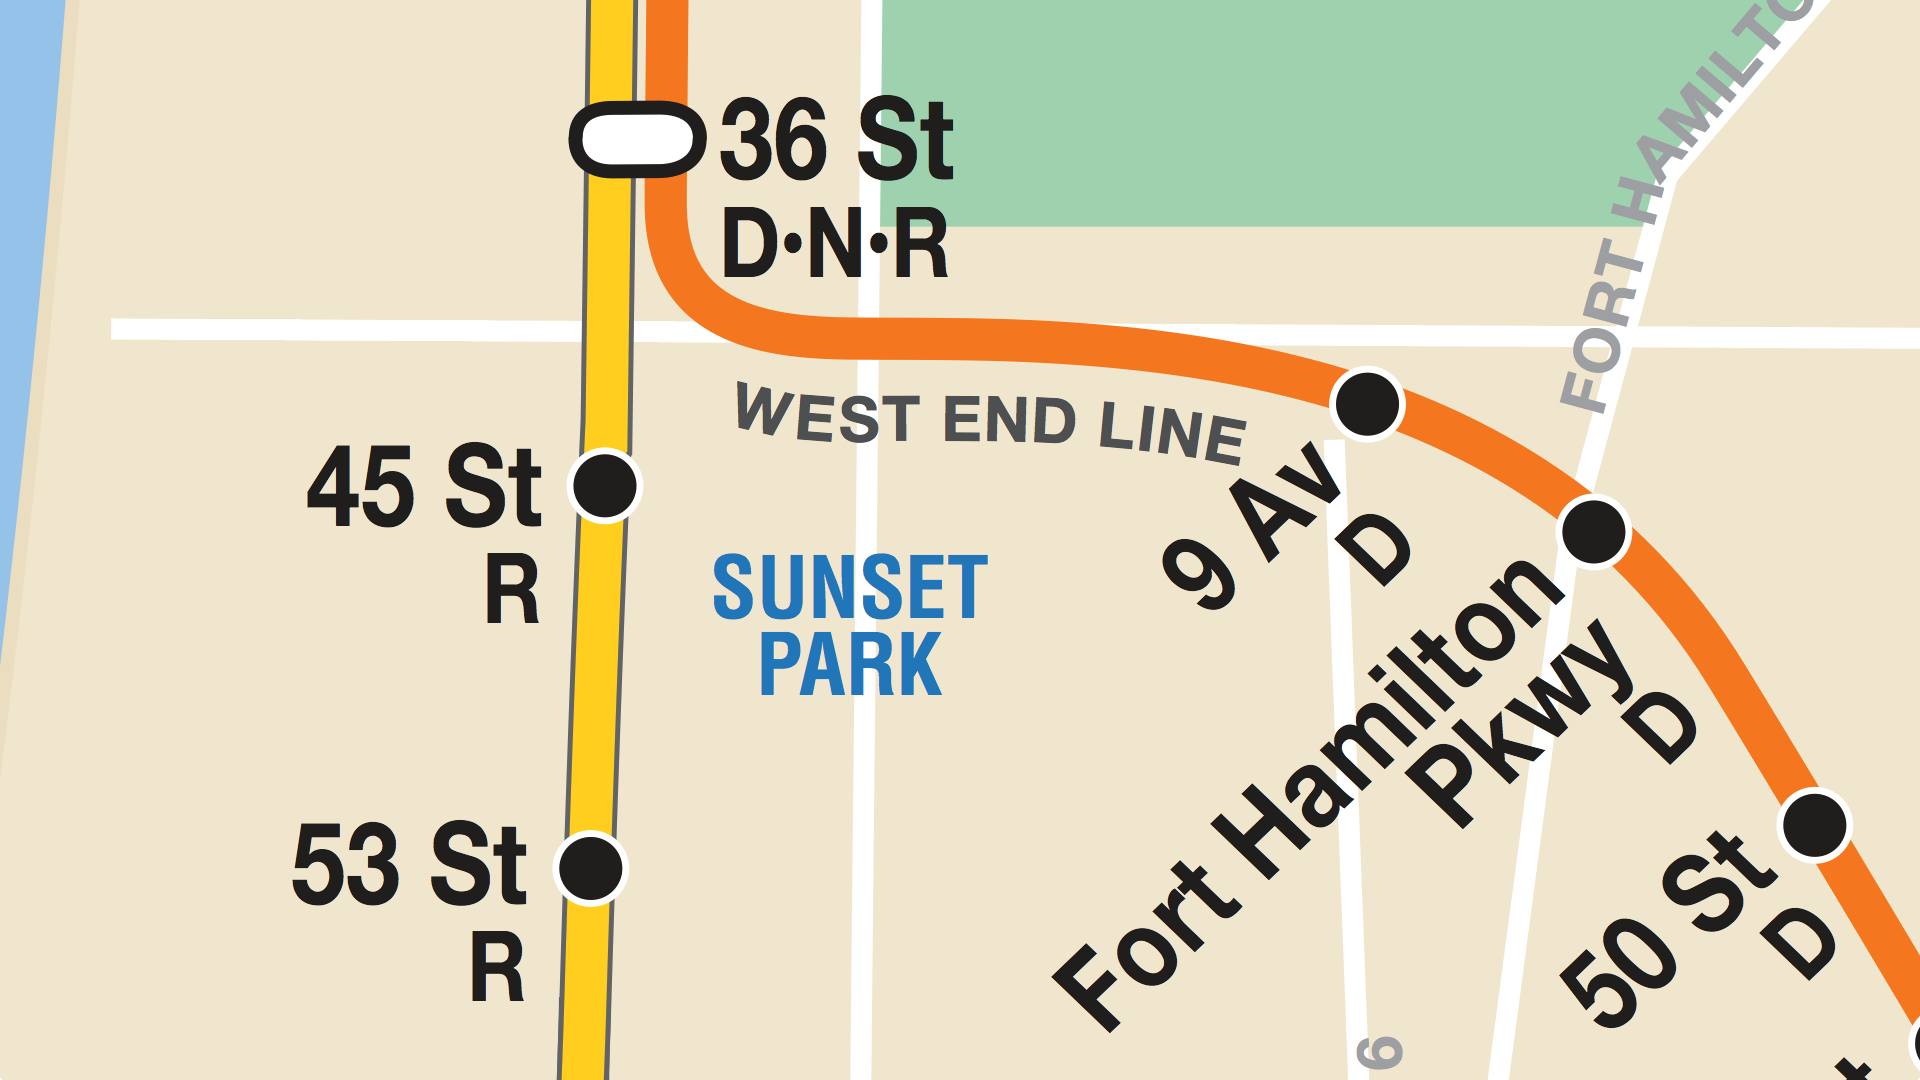 Sunset Park, as imagined by the NYC Subway Map. Missing: Sunset Park itself
I live in Sunset Park, Brooklyn, at the top of the hill that stretches south from Park Slope and a couple blocks from Sunset Park itself. My nearest subway stops are the D at 9th Ave and the R at 45th Street, both about a 10 minute walk from my apartment. It’s not a bad walk, and the D is a great train — it runs express to Manhattan and drops me near my office in Soho, a mere 3 stops from where I get on.
But there’s also a bus stop around the corner from my apartment, and if I time it right, I can catch the B70 and take it to 36th Street, where I can also catch the N. This has the potential to save me a few minutes and/or a cross-platform subway transfer, depending on where I’m going.
The problem with the B70 is that it only runs 3-4 times an hour, even during the morning rush. So historically my commute has been left to chance — when crossing 8th Ave, I peer down the street to see if there‘s a northbound B70 I can catch. If not, I keep walking to the D.
The Idea
Now that the B70 is BusTime-enabled, I can see where the bus is from the comfort of my living room and plan my departure accordingly. The tricky part is remembering to look at the BusTime site, and refreshing the page occasionally to make sure the next bus isn’t about to pass me by.
But what if the arrival information was available to me in a more ambient way? Bus stops in many cities (and soon at a select few bus stops in NYC) have digital displays that show updated arrival information. What if I could have the same thing in my living room, letting me know when it was time to go outside and catch the bus?
So that’s what I decided to make.
The Brains
The first thing I needed to figure out was how to get at the BusTime API. The MTA makes this fairly easy, providing detailed information on their developer site. You need an API key make requests, but getting one is as easy as filling out a form and waiting a couple days.
The API provides two useful endpoints: One for stop monitoring and one for vehicle monitoring. The former is what I needed, so I set out to build a client library for it in Python. A few disparate hours of honing my meager Python skills and 100-or-so lines of code later, I had a proof of concept. This eventually morphed into a module that I import and use in a simple Flask app.
The original proof-of-concept, written in Python (Instagram)
Feed it an API key and stop ID as arguments (and, optionally, a bus route name and number of stops to return), and it will query the BusTime API and return a subset of the response data. Since the BusTime API’s data model is based on the SIRI standard, it returns a lot of convoluted data that I didn’t need, so I had to strip that down into something that could fit into a small memory footprint. (See “The Guts” below.)
I ended up with just three pieces of information: The route name, the distance and the number of stops away. Interesetingly, “minutes away” is not a datapoint that the BusTime API provides, and I can understand why. Determining an arrival time based on distance and speed is often a guessing game, especially in unpredictable New York traffic (to say nothing of the snarls caused by double-parking delivery trucks, which are a regular feature of the 8th Avenue business district).
Number of stops may seem unintuitive, but I think it’s a fairly easy thing to understand if you know your neighborhood, especially when you consider that two adjacent NYC bus stops are usually in sight of each other. I’ve found that if BusTime says the bus is 3 stops away, I have enough time to leave my apartment and walk to the corner, and perhaps stop at the Chinese bakery for a coffee if the light turns red.
The Guts
Next I had to figure out the hardware. For this I turned to Adafruit Industries, who offer a wide selection of Arduino components and accessories. With simplicity in mind (and the traditional bus stop LED arrival board as my inspiration) I settled on the following parts:
-
Arduino Uno R3 (purchased as part of the Arduino Starter Pack)
The total cost for all the above (not counting tools and wires for final assembly) was around $140, which I felt was pretty reasonable for a pile of specialized electronic components. Also, Adafruit has a ton of documentation and code examples available online, which were essential in easing the build process.
Testing It All Out
I was new to Arduino prototyping when I started this project, so I wanted to proceed incrementally to figure out each of the components before attempting to wire them all together. Adafruit’s tutorials and sample code made this incredibly easy, and I was blown away by how quickly I was off and running with each component. I won’t bother to reproduce the steps here, since they are covered fairly thoroughly in the linked documentation.
First up was the LED panel: Adafruit tutorial, library & sample code. The provided library and samples include functions for easily writing text and drawing shapes on the screen, so getting it working took no time at all:
And with a little more effort, I was able to work up some iconography:
Early design prototype. Distances and arrows were left on the cutting room floor. (Instagram)
The next challenge was the WiFi breakout: Adafruit tutorial, library & sample code. Again, nearly everything I needed was outlined in the example code, so with minimal effort I was able to connect to my home WiFi and download a sample page.
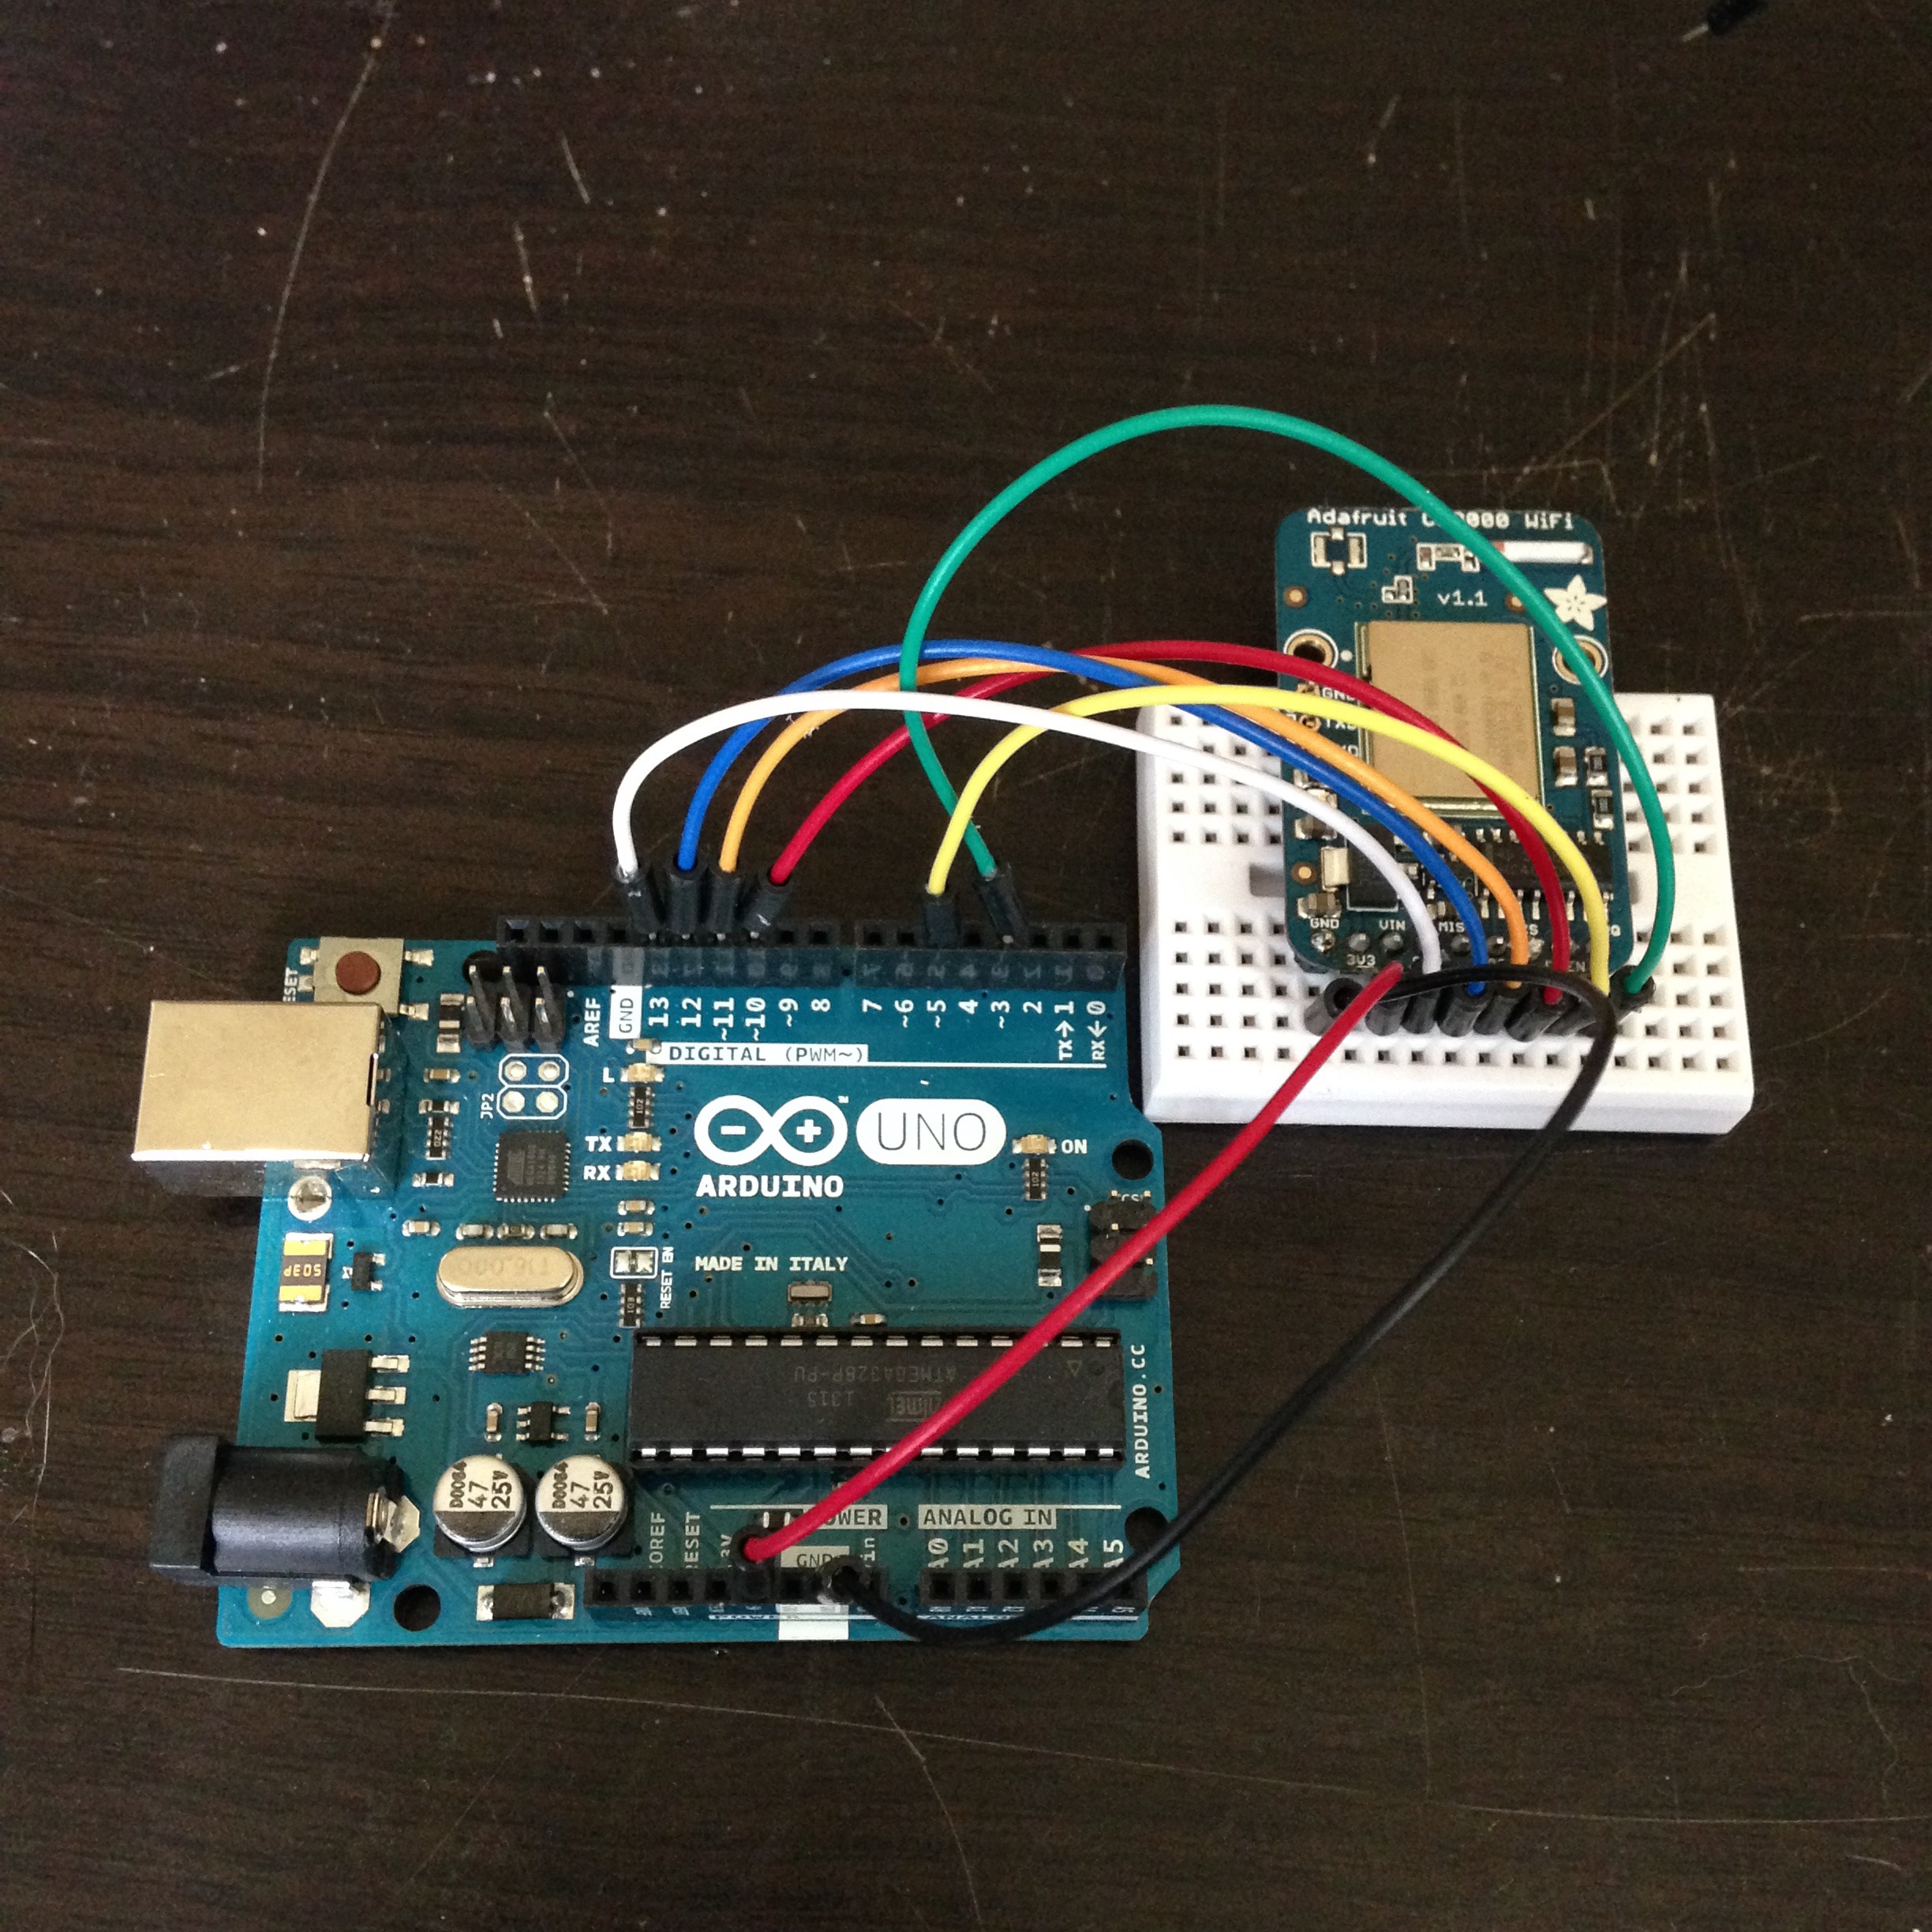 Not much to look at, but it worked!
Putting It Together
Once all parts were tested, it it was time to combine them. This meant rolling all the code up into a single application and wiring all the components together using the Proto Shield.
The final Arduino app needed to do the following:
-
Connect to my home WiFi
-
Attempt to connect to the Flask app and download the JSON string
-
Parse the JSON and extract the needed information (namely, how many stops away each bus is from my stop)
-
Display the information on the LED panel (along with a cute bus icon, of course)
-
Repeat this process every 30 seconds or so
-
Bonus: Automatically adjust the brightness of the LED panel using an attached photocell sensor
Steps 1, 2, 4 and 6 were basically covered by Adafruit’s tutorials, which I modified to suit my needs. For step 3, I turned to the ArduinoJsonParser library, which is lightweight and simple enough to get the job done efficiently.
I briefly considered the possibility of having the Arduino connect directly to the BusTime API and parse its output. This proved to be impossible: The Arduino Uno has a mere 32KB of flash memory, and the code and its dependencies take up about 25K before anything even runs. So once all the needed variables are initialized, there’s not enough room left to store the 2K of SIRI data that gets dumped out of the API. Needless to say, this project was somewhat of a miniature crash course in managing memory with C.
As for the wiring: Figuring out what should go where was a cinch using the breadboard and wires that came with the Arduino Starter Pack. But I wanted a fully assembled device, and that meant there was a fair amount of soldering to be done. I’ve never taken an engineering course, so I don’t know how to draw wiring diagrams from scratch. Thankfully we live in The Future and there is an app called Fritzing that does most of the work for us.
Fritzing includes interactive diagrams of many prototyping components, and plenty more are available online from various sources. The basic Arduino parts are included, and Adafruit maintains a GitHub repo of their own library of components. Oddly, this library was missing the Proto Shield, but I found a user-contributed one in the forums that worked great. The result looks darn cool (and made the actual work of soldering significantly easier):
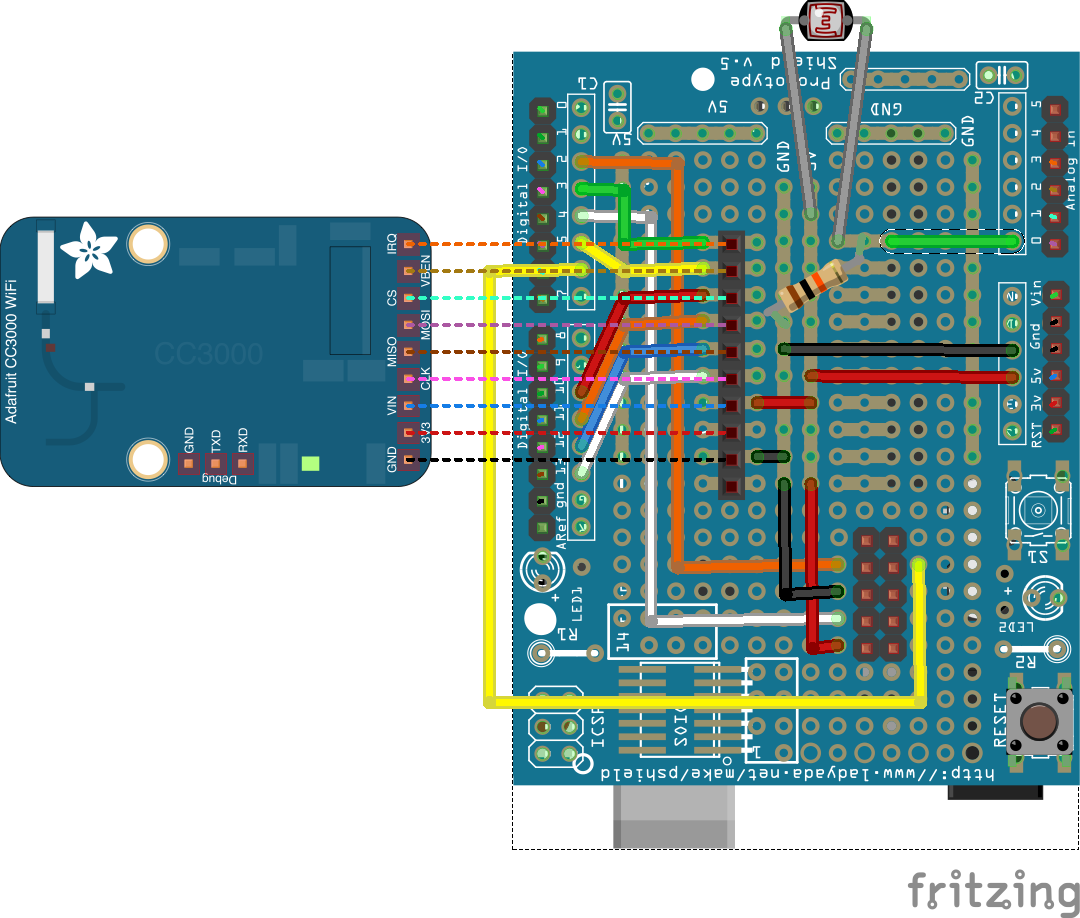
All I’ll say about the soldering process itself is that having a nice 40W soldering iron with a narrow pencil tip makes for a nice clean project, whereas a 25W iron with a blunt tip will yield a multitude of melted shielding and sadness. YMMV.
The Final Product (and TODOs)
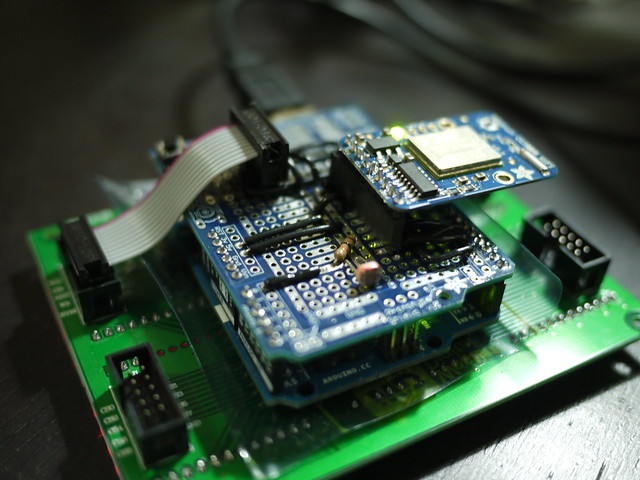
 My messy workbench.
And wouldn’t you know it, the darn thing works! It’s not completely finished, but it’s functional enough that I’ve been making regular use of it and, consequently, catching the bus a lot more often. There’s more I’d like to do with it, though. Here’s my list of nice-to-haves that I’ll maybe get around to at some point:
-
Multiple Stops — Currently the Arduino code only supports a single, hard-coded bus stop ID, but I’d like to be able to cycle through nearby stops by pressing a physical button on the device. It would also be nice to add and remove stops to monitor via the Flask application, especially if I decide to build more than one of these things some day. (Want one?)
-
Easier Access To Stop Data — So far I haven’t mentioned where the stop ID used to query the BusTime stop monitoring API actually comes from. You can find it on the bus stop’s signage for use with the text messaging service, as well as in the stop details on the BusTime website. Ideally any sort of web-based system to manage a device’s stops would have a similar lookup method, but that requires parsing the MTA’s bus GTFS feeds, which is no small task. I would like to do this some day, but it seems like a separate project.
-
A Case — My goal was to have something I could mount on my wall, but I’m not there yet. Also the Aurdino controller and Proto Shield aren’t attached to the LED display (except by the ribbon cable), so they flop around a bit. I could use the help of someone with wood- or metalworking skills on this front.
-
Bug Squashing — Every few days it freezes up and I have to push the reset button. I suspect this has something to do with the WiFi controller, but since it’s only a minor annoyance I haven’t gotten to the bottom of it yet.
Documentation
For those interested in following in my footsteps, I’ve posted all the code from the project on Github, including the Python module, Flask app, Arduino code, and Fritzing diagram. Feel free to reuse, but kindly retain all credits and link back to the code/this page where applicable. Happy hacking!
Pics Or It Didn’t Happen
 Straight on from the back (Flickr)
 Bottom right corner (Flickr)
 Top left corner (Flickr)
 Repeat of the header image (Flickr)